教程中心: PS专题 【 Photoshop教程、 PS画笔、 PS动作、 PS样式】 | C4D教程 | Illustrator教程 | Corldraw教程 | Indesign教程 | 网页设计教程

在 CSS 规范 Scroll-linked Animations 中,推出了一个划时代的 CSS 功能。也就是 -- The @scroll-timeline at-rule,直译过来就是滚动时间线。
本文,就将带大家一探究竟,从入门到学会使用 CSS @scroll-timeline。(推荐学习:css视频教程)
何为 @scroll-timeline 滚动时间线?
什么是 @scroll-timeline 滚动时间线呢?
@scroll-timeline 能够设定一个动画的开始和结束由滚动容器内的滚动进度决定,而不是由时间决定。
意思是,我们可以定义一个动画效果,该动画的开始和结束可以通过容器的滚动来进行控制。
示意 DEMO
再系统性学习语法之前,我们通过一个 DEMO,简单了解一下它的用法:
我们首先实现一个简单的字体 F 旋转动画:
F
#g-box {
    animation-name: rotate;
    animation-duration: 3s;
    animation-direction: alternate;
    animation-easing-function: linear;
}
@keyframes rotate {
    0% {
        transform: rotate(0);
    }
    100% {
        transform: rotate(360deg);
    }
}
正常而言,它是这样一个简单的动画:
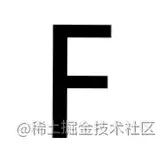
接下来,我们把这个动画和 @scroll-timeline 相结合,需要把它放置到一个可滚动的容器中:
F
#g-content {
    width: 300px;
    height: 170vh;
    background: #999;
}
#g-box {
    font-size: 150px;
    margin: 70vh auto 0;
    animation-name: rotate;
    animation-duration: 3s;
    animation-direction: alternate;
    animation-easing-function: linear;
    animation-timeline: box-rotate;
}
@keyframes rotate {
    0% {
        transform: rotate(0);
    }
    100% {
        transform: rotate(360deg);
    }
}
@scroll-timeline box-rotate {
    source: selector("#g-content");
}
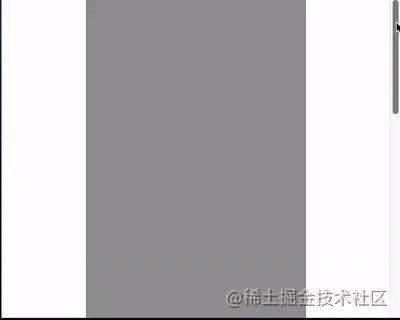
这里,我们实现了一个可滚动容器 #g-content,它的高度是 170vh,也就是可视界面高度的 1.7 倍,并且把 #g-box 容器放置在一个距离顶部 70vh 高度的地方:
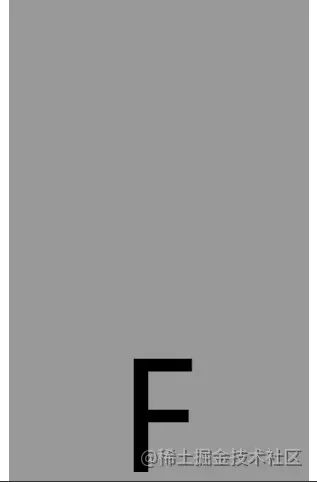
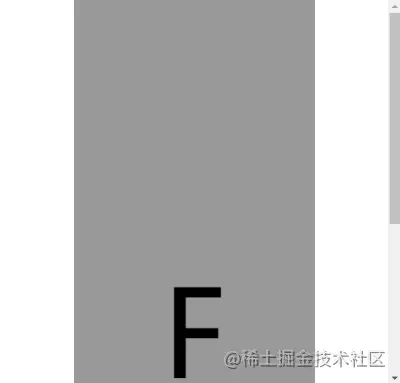
有意思的来了,我们设置的旋转动画不会自动开始,只有当我们向下滚动的时候,动画才会开始进行,实际效果 Gif:
CodePen Demo -- @scroll-timeline Demo
https://codepen.io/Chokcoco/pen/JjOZMaQ
看到这里,大家应该能够理解 @scroll-timeline 的作用及含义了,它赋予了 CSS 能够基于滚动条的滚动去控制动画行进的能力! Amazing!!
@scroll-timeline 语法介绍
接下来,我们先缓一缓,简单看一看 @scroll-timeline 的语法。
使用 @scroll-timeline,最核心的就是需要定义一个 @scroll-timeline 规则:
@scroll-timeline moveTimeline {
  source: selector("#g-content");
  orientation: vertical;
  scroll-offsets: 0px, 500px;
}
其中:
- source:绑定触发滚动动画的滚动容器
source: auto:绑定到Document,也就是全局 Windows 对象source: selector("id-selector"),通过selector(),内置一个#id选择器,选取一个可滚动容器source: none:不指的滚动容器
- orientation:设定滚动时间线的方向
orientation: auto:默认为 vertical,也就是竖直方向的滚动orientation: vertical:竖直方向的滚动orientation: horizontal:水平方向的滚动orientation: block:不太常用,使用沿块轴的滚动位置,符合书写模式和方向性orientation: inline:不太常用,使用沿内联轴的滚动位置,符合书写模式和方向性
- scroll-offsets:滚动时间线的核心,设定在滚动的什么阶段,触发动画,可通过三种方式之一进行设置:
scroll-offsets: none这意味着没有 scroll-offset 指定。- 由逗号分隔的 length-percentage 值列表确定。每个值都映射到animation-duration。例如,如果 ananimation-duration 设置为 2s 且滚动偏移量为 0px, 30px, 100px,则在 1s 时,滚动偏移量将为 30px。
- 第三种确定滚动偏移量的方法是使用元素偏移量。这意味着可以指定页面内的元素,其位置决定了滚动时间线以及要使用这些元素的哪个边缘。指定元素是使用 selector() 函数完成的,该函数接收元素的 id。边缘由关键字 start 或确定 end。可选的阈值的 0–1 可用于表示元素滚动中预期可见的百分比。
scroll-offsets 的理解会比较困难,我们稍后详述。
在设定了一个 @scroll-timeline 之后,我们只需要将它和动画绑定起来即可,通过 animation-timeline:
@scroll-timeline moveTimeline {
  source: selector("#g-content");
  orientation: vertical;
  scroll-offsets: 0px, 500px;
}
div {
    animation-name: move;
    animation-duration: 3s;
    animation-timeline: moveTimeline;
}
@keyframes move{
    0% {
        transform: translate(0, 0);
    }
    100% {
        transform: translate(100%, 0);
    }
}
使用 @scroll-timeline 实现滚动进度指示器
之前在 不可思议的纯 CSS 滚动进度条效果 一文中,我们介绍了一种使用渐变实现的纯 CSS 滚动进度指示器效果:
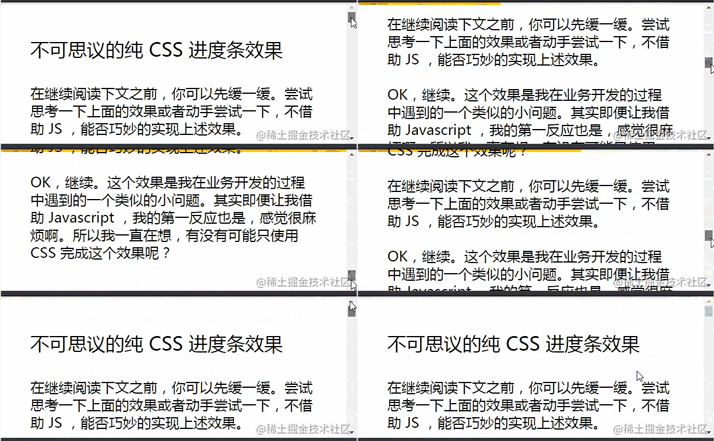
该方法有些小小的瑕疵。其中一个就是当滚动距离太短的时候,进度条右侧会有明显的斜边效果。
而有了 @scroll-timeline 之后,我们终于可以将滚动和动画这两个元素绑定起来,再实现滚动进度指示器,就已经非常轻松了:
...文本内容...
#g-container {
    width: 100vw;
}
#g-container::before {
    content: "";
    position: fixed;
    height: 5px;
    left: 0;
    top: 0;
    right: 0;
    background: #ffc107;
    animation-name: scale;
    animation-duration: 1s;
    animation-fill-mode: forwards;
    animation-timeline: box-rotate;
    transform-origin: 0 50%;
}

@keyframes scale {
    0% {
        transform: scaleX(0);
    }
    100% {
        transform: scaleX(1);
    }
}
@scroll-timeline box-rotate {
    source: auto;
    orientation: vertical;
}
1、我们在页面最上方,通过一个伪元素,实现一个占满屏幕 100% 的 5px 高的进度条。正常而言是这样:

2、通过设定一个 transform: scaleX(0) 到 transform: scaleX(1) 的动画,并且将它与 body 的滚动相绑定,即可得到滚动指示器,效果如下:

完整的代码,你可以戳这里:CodePen Demo - 使用 @scroll-timeline 实现滚动进度条
https://codepen.io/Chokcoco/pen/eYeKLMj
使用 scroll-offsets 精确控制动画触发时机
大家可以再看看上面的 Gif 图,都有一个问题,就是动画的开始时间都是从滚动一开始就开始了,刚好在滚动结束时结束。那么如果我希望动画在滚动的特定阶段触发,那该怎么办呢?
这里,就需要借助 scroll-offsets,去更加精确的控制我们的动画。
在滚动过程中,我们可以将一个元素,划分为 3 个区域:
- 滚动过程中,从上方视野盲区,进入视野
- 滚动过程中,处于视野中
- 滚动过程中,从视野中,进入下方视野盲区
在这里,我们就可以得到两个边界,上方边界,下方边界:
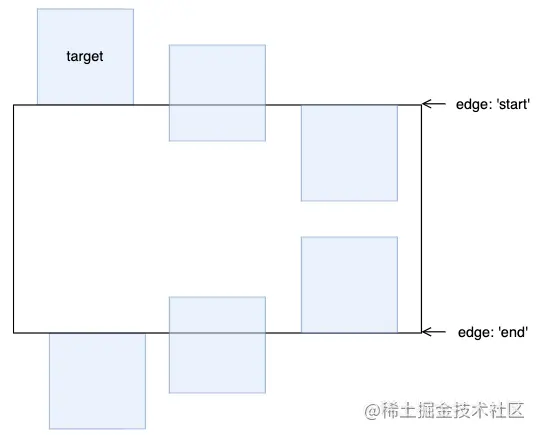
而对于上下两个边界,又会有两种状态。以上边界为例子,会有:
- 元素刚刚开始进入可视区
- 元素完全进入可视区
对于这两种状态,我们用 start 0 和 start 1 表示,同理,下方的边界也可以用 end 0 和 end 1 表示:
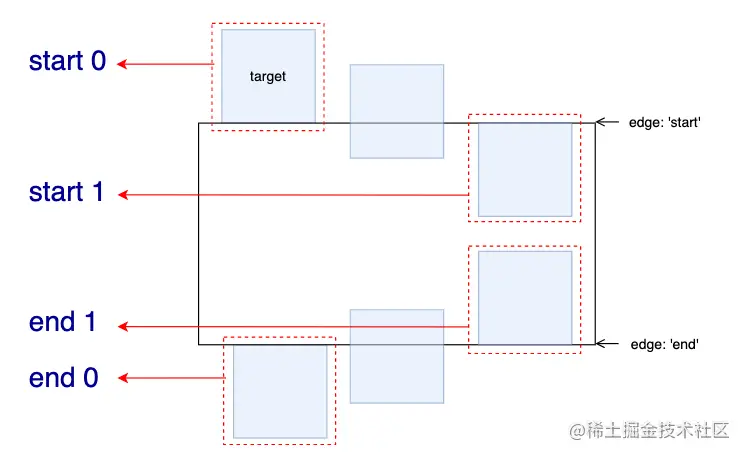
这里的 0 和 1 实际表示的是,元素滚动中预期可见的百分比。
有了这些状态值,配合 scroll-offsets,我们就可以精确控制滚动动画的触发时间。
我们设定一个从左向右并且伴随透明度变化的动画,的看看下面几种情况:
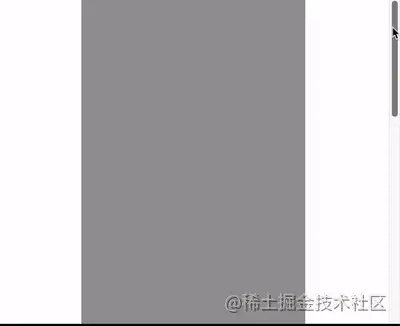
1、滚动动画在元素从下方开始出现时开始,完全出现后截止。
动画运行范围:end 0 --> end 1:
@keyframes move {
    0% {
        transform: translate(-100%, 0);
        opacity: 0;
    }
    100% {
        transform: translate(0, 0);
        opacity: 1;
    }
}
@scroll-timeline box-move {
    source: auto;
    orientation: "vertical";
    scroll-offsets:
        selector(#g-box) end 0,
        selector(#g-box) end 1;

    /* Legacy Descriptors Below: */
    start: selector(#g-box) end 0;
    end: selector(#g-box) end 1;
    time-range: 1s;
}
#g-box {
    animation-name: move;
    animation-duration: 3s;
    animation-fill-mode: both;
    animation-timeline: box-move;
}
效果如下:
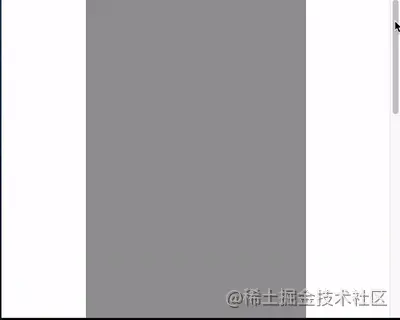
2、滚动动画在元素从下方完全出现时开始,在滚动到上方即将离开屏幕后截止:
动画运行范围:end 1 --> start 1:
// ...
@scroll-timeline box-move {
    source: auto;
    orientation: "vertical";
    scroll-offsets:
        selector(#g-box) end 1,
        selector(#g-box) start 1;

    /* Legacy Descriptors Below: */
    start: selector(#g-box) end 1;
    end: selector(#g-box) start 1;
    time-range: 1s;
}
// ...
效果如下:
3、滚动动画在元素滚动到上方即将离开屏幕后开始,完全离开屏幕后截止:
动画运行范围:start 1 --> start 0:
// ...
@scroll-timeline box-move {
    source: auto;
    orientation: "vertical";
    scroll-offsets:
        selector(#g-box) start 1,
        selector(#g-box) start 0;

    /* Legacy Descriptors Below: */
    start: selector(#g-box) start 1;
    end: selector(#g-box) start 0;
    time-range: 1s;
}
// ...
效果如下:
掌握 scroll-offsets 的用法是灵活运用滚动时间线的关键,当然,在上面你还会看到 start: selector(#g-box) start 1 和 end: selector(#g-box) start 0 这种写法,这是规范历史遗留问题,最新的规范已经使用了 scroll-offsets 去替代 start: 和 end: 的写法。
把上述 3 种情况放在一起,再比较比较:

完整的代码,你可以戳这里:CodePen Demo - @scroll-timeline Demo | element-based offset
使用 @scroll-timeline 实现各类效果
在能够掌握 @scroll-timeline 的各个语法之后,我们就可以开始使用它创造各种动画效果了。
譬如如下的,滚动内容不断划入:
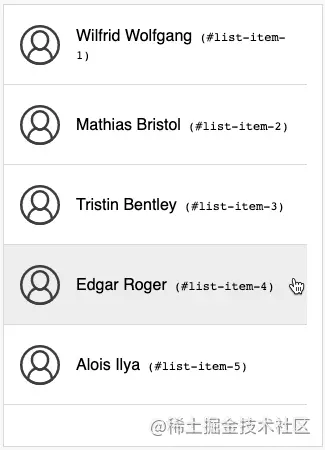
代码较长,可以戳这里,来自 bramus 的 Codepen CodePen Demo -- Fly-in Contact List (CSS @scroll-timeline version)
https://codepen.io/bramus/pen/bGwJVzg
甚至可以结合 scroll-snap-type 制作一些全屏滚动的大屏特效动画:
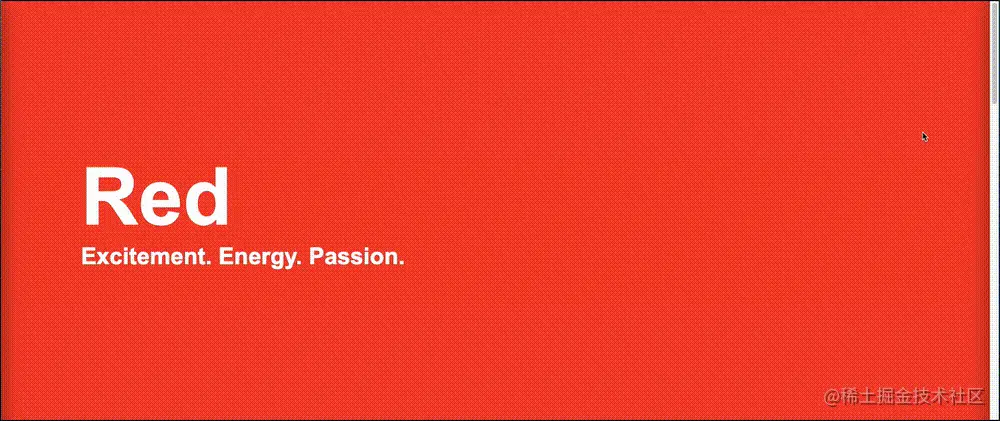
要知道,这在以前,是完全不可能利用纯 CSS 实现的。完整的代码你可以戳这里:CodePen Demo -- CSS Scroll-Timeline Split Screen Carousel
https://codepen.io/Chokcoco/pen/QWOrPdM
简而言之,任何动画效果,如今,都可以和滚动相结合起来,甚至乎是配合 SVG 元素也不例外,这里我还简单改造了一下之前的一个 SVG 线条动画:
完整的代码你可以戳这里:CodePen Demo -- SVG Text Line Effect | Scroll Timeline
https://codepen.io/Chokcoco/pen/wvPxbRm
@scroll-timeline 的实验室特性与特性检测
@scroll-timeline 虽好,目前仍处于实验室特性时间,Chrome 从 85 版本开始支持,但是默认是关闭的。
兼容性如下(2022-03-07):
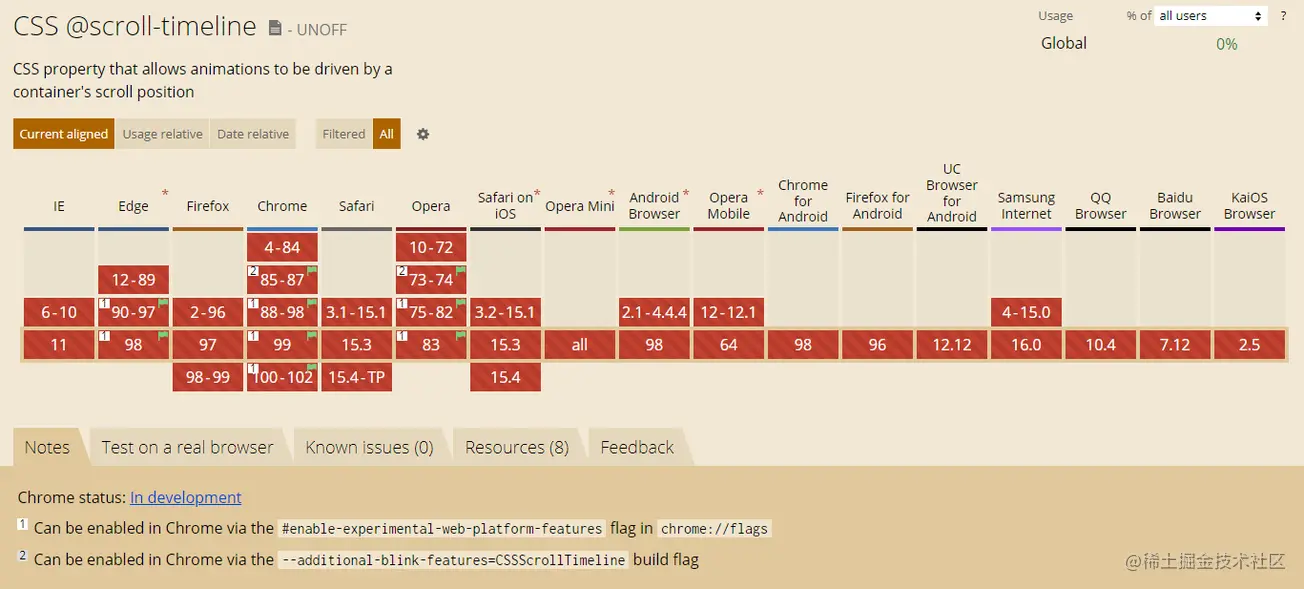
在最新的 chrome、Edge、Opera 可以通过浏览器配置开启该特性,Chrome 下开启该特性需要:
浏览器 URL 框输入
chrome://flags开启
#enable-experimental-web-platform-features
美酒虽好,但是离完全能用,浏览器大规模支持还需要等待一会,给时间一点时间吧!
特性检测
基于目前的兼容性问题,我们可以通过浏览器的特性检测 @supports 语法,来渐进增强使用该功能。
特性检测的语法也非常简单:
@supports (animation-timeline: works) {
    @scroll-timeline list-item-1 {
	source: selector(#list-view);
	start: selector(#list-item-1) end 0;
	end: selector(#list-item-1) end 1;
        scroll-offsets:
            selector(#list-item-1) end 0,
            selector(#list-item-1) end 1
        ;
	time-range: 1s;
    }
    // ...
}
通过 @supports (animation-timeline: works) {} 可以判断浏览器是否支持 @scroll-timeline。
最后
目前关于 @scroll-timeline 的相关介绍还非常少,但是它确是能够改变 CSS 动画的一个非常大的革新。随着兼容性的逐渐普及,未来势必会在 CSS 中占据一席之地。
本文到此结束,希望对你有帮助 :)
感谢您的阅读标题为 《深入了解CSS动画新特性:@scroll-timeline》的文章,更多教程内容可关注新设计人网。